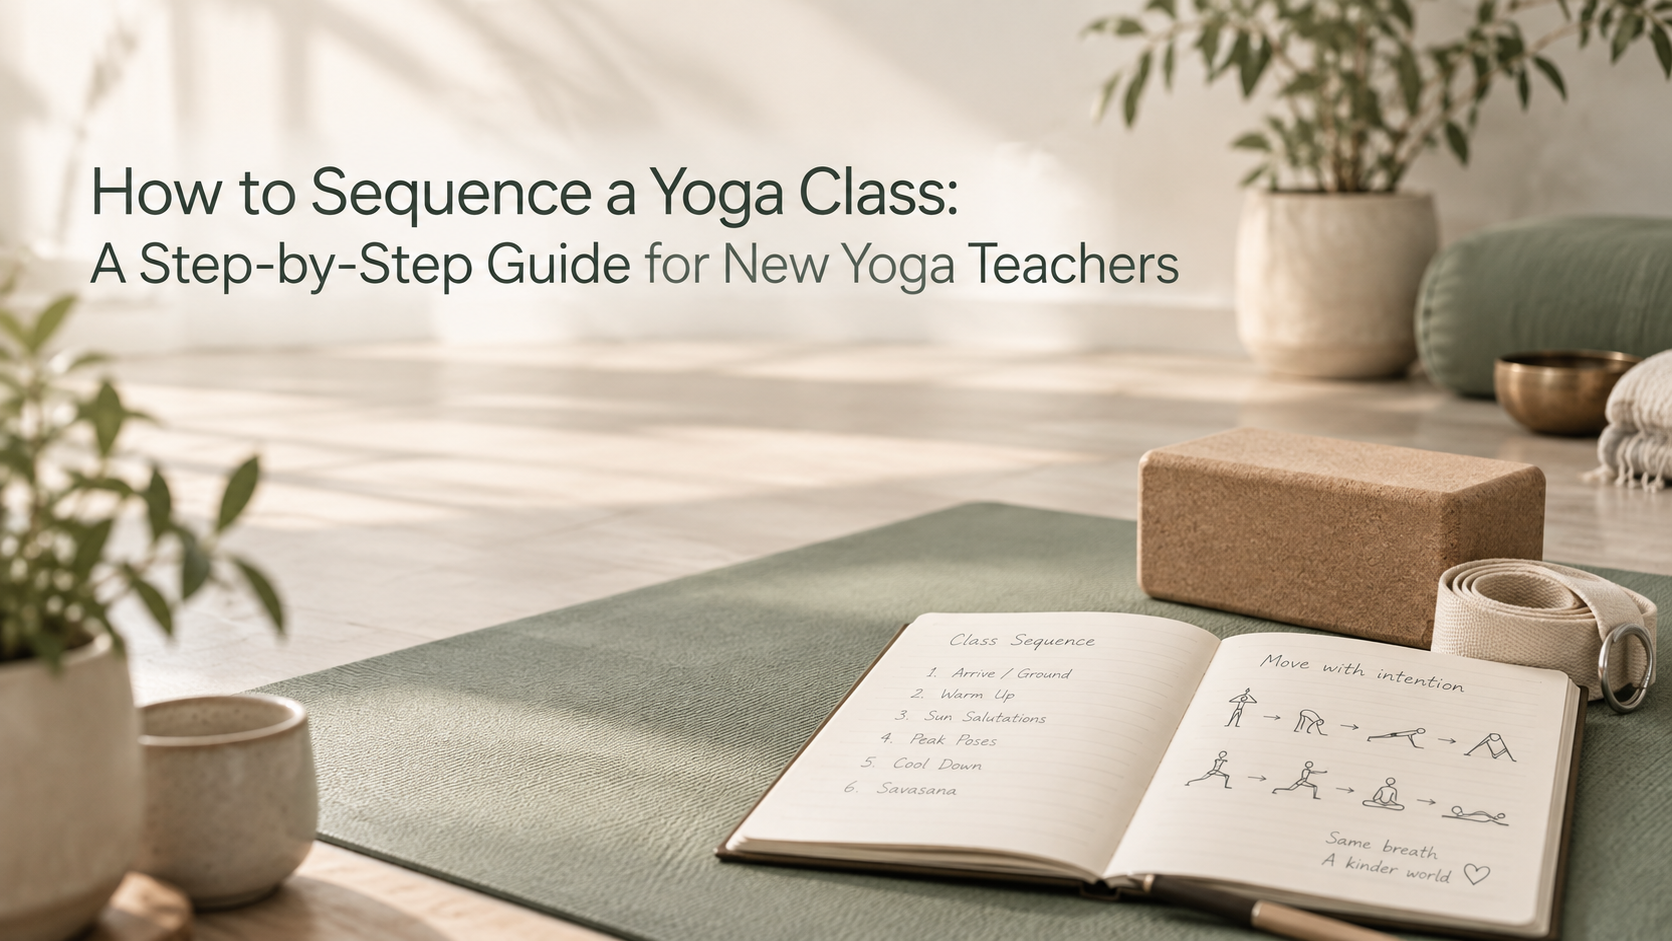
 What Yoga Sequencing Means and Why It Matters
Sequencing is the order of poses, breath practices, and rests in a class. It also covers your pace and the way you move students from one shape to the next. A good sequence feels logical. Each part prepares the body and mind for the next part.
Sequencing matters for three reasons.
First, it protects students. The National Center for Complementary and Integrative Health (NCCIH) says yoga is generally safe for healthy people who practice with care. It also warns that you can get hurt doing yoga, and it recommends learning from a qualified instructor. Your sequence is one of your main safety tools. A thoughtful order prepares the body step by step, so no one jumps straight into a demanding shape.
Second, it helps students learn. When you move from simple to complex, students understand new shapes faster. They also feel more confident.
Third, it shapes the experience. Two teachers can use the same poses and create very different classes. One class feels scattered. The other feels like a journey with a clear beginning, middle, and end.
Think of your sequence as the frame of a house. Your voice, cues, and music fill the rooms. The frame holds everything up.
Step 1: Start With Your Students
Every good sequence starts with one question: who is in the room? Answer it before you pick a single pose.
Consider level first. Beginners need simpler shapes, shorter holds, and more explanation. A mixed-level class needs options. Experienced students can handle longer flows and deeper poses.
Think about age, work, and energy too. Office workers at a lunchtime class often carry tension in the neck, shoulders, and hips. Evening students often want to slow down. If you plan to teach at workplaces, our guide on how to teach corporate yoga in Vancouver shows how those needs shape a class.
Next, ask about health. MedlinePlus notes that people who are pregnant or who have high blood pressure, glaucoma, sciatica, or arthritis should adjust or skip certain poses. Invite students to tell you about injuries before class. Then build options into your plan. You do not diagnose or treat. You offer choices and encourage students to check with their health care provider.
Finally, note your practical limits. How long is the class? How big is the room? Do you have props? A 45-minute class in a small room needs a very different plan than a 90-minute class in a large studio.
Write these answers at the top of your plan. They keep every later choice honest.
Step 2: Choose a Theme and a Peak Pose
A theme gives your class direction. It can be physical, such as open hips or strong legs. It can also be a quality, such as steadiness or ease. Choose one theme per class. Too many ideas confuse students.
Many teachers also pick a peak pose. This is the shape your class builds toward. It might be a balance, a backbend, or a deep hip opener. New teachers often choose a peak pose that is too hard. Pick one your students can reach safely. A systematic review of published case reports on yoga-related injuries advises beginners to steer clear of extreme practices such as headstand, lotus position, and forceful breathing. Keep that advice in mind when you choose.
Once you pick a peak pose, work backward. Ask what the body needs to do that pose well. Half pigeon, for example, asks for mobile hips and a stable knee. So your earlier poses should prepare those areas. Low lunges, hip circles, and figure-four stretches all help.
You do not need a peak pose in every class. Some classes work better with a simple quality, such as slow breathing or grounded strength. The point is direction. Students should feel that each pose has a reason.
Step 3: Understand the Basic Class Arc
Most yoga classes follow a simple arc. Energy rises, peaks, and settles. MedlinePlus says all styles of yoga include three basic parts: breathing, poses, and meditation. It adds that most classes last 45 to 90 minutes. The arc gives those parts a shape.
A classic arc has six stages:
- Arrival and centering. Students settle, breathe, and set an intention.
- Warm-up. Gentle movement wakes up the spine, hips, and shoulders.
- Building. Flows and standing poses raise heat and strength.
- Peak. Your focus pose or main challenge arrives.
- Cool-down. Slower poses and counterposes release the work.
- Savasana and closing. Students rest and absorb the practice.
Time each stage before you teach. For a 60-minute class, try about 5 minutes for arrival, 10 for warm-up, 30 for building and the peak, and 15 for the cool-down and final rest. Treat these numbers as a starting point, not a rule. A restorative class will spend far more time in the last two stages. A vigorous flow will spend more time building.
Knowing the arc also keeps you calm. When you lose your place mid-class, ask which stage you are in and what that stage needs. The next sections walk through each stage in order.
Step 4: Open With Arrival and Centering
Do not rush the first five minutes. Students arrive from traffic, screens, and busy days. They need a moment to land.
Start with a short welcome. Say your name, describe the plan in one sentence, and invite students to get comfortable. Then guide a simple breath practice. Harvard Health Publishing describes deep breathing as air entering through the nose, filling the lungs, and letting the lower belly rise. It also calls breath focus a common feature of techniques that trigger the body’s relaxation response.
Keep your instructions short. Ask students to rest a hand on the belly, breathe in slowly through the nose, and breathe out slowly. Repeat for several rounds. Then offer a one-line intention that fits your theme, such as “steady and soft.”
Avoid long readings and complex breathing techniques at this stage. They rarely suit beginners, and they use up time your students need for movement. Keep this stage quiet, simple, and clear.
The opening helps you, too. You can scan the room, notice who looks tired, and spot anyone who seems unsure. Use what you see to adjust your plan. If someone arrives late, keep going. Welcome them quietly and let them join at their own pace.
 Step 5: Warm Up the Body Before Deeper Work
A warm-up prepares joints and muscles for what comes next. Mayo Clinic advises warming up with five to 10 minutes of aerobic activity before you stretch. It also says to hold stretches steady, avoid bouncing, and keep breathing. Yoga classes can follow the same logic. Start with gentle movement, then go deeper.
Begin with small, simple actions. Cat-cow wakes up the spine. Thread-the-needle opens the shoulders. Hip circles on hands and knees prepare the hips. Then move into a few slow sun salutations. Sun Salutation A takes the spine through folding and extension, works the shoulders and legs, and builds heat.
Use these guidelines:
- Move every major joint. Include the spine, hips, shoulders, and wrists.
- Start small. Use short ranges of motion before big ones.
- Match the warm-up to your peak. If the peak works the hips, spend more time on the hips.
- Go slowly at first. Add speed only when students look ready.
Early classes call for extra time. Students often feel stiffer in the morning, so give them longer to loosen up.
A warm-up also gives you time to observe. Watch how students move. You will learn more from those first ten minutes than from any intake form.
Step 6: Build Toward Your Peak With Clear Progression
Now you build. Progression means each pose prepares the body for a harder one. Move from simple to complex, from stable to challenging, and from general to specific.
Start with big, stable shapes. Standing poses such as Warrior II, Triangle, and Side Angle strengthen the legs and open the hips and chest. Then add poses that ask for more balance, flexibility, or strength. Always work both sides evenly.
Many teachers follow four principles:
- Prepare before you ask. Stretch the hamstrings before a deep forward fold. Warm the shoulders, hips, and spine before a backbend.
- Layer, don’t jump. Teach a low lunge before a lunge with a twist. Teach a supported version before an unsupported one.
- Balance the work. Move the spine in several directions across the class: forward, backward, sideways, and in twists. Pair leg work with core and upper-body work.
- Manage intensity. Follow a demanding pose with a lighter one. Give students a moment to breathe.
Pace matters as much as order. Slow down when you introduce a new shape. Give beginners time to enter and exit each pose. Repeat key actions so students can learn them.
When you reach the peak, offer at least two versions: a supported one and a full one. Then leave enough time. Students should never feel rushed at the top of the climb.
Step 7: Cool Down and Use Counterposes
After the peak, help the body settle. A cool-down slows the pace and lowers the intensity. It also gives muscles and joints a chance to release.
Use counterposes to balance the work you just did. A counterpose moves the body in the opposite direction. After a strong backbend, offer a gentle forward fold or child’s pose. After deep hip work, offer a gentle twist or a neutral-spine shape. After a long standing series, invite students to sit or lie down.
Many teachers also finish with seated or reclined stretches. Reclined figure-four, knees-to-chest, and a supine twist suit most students. Keep the moves simple. Remind students to feel a gentle stretch, never pain, and to skip any shape that hurts.
Hold each cool-down pose long enough for the body to soften. Slow breathing helps. Your voice matters here too. Slow your speech and soften your tone. Tell students the peak has passed with a simple line, such as “Now we begin to release.”
Cool-down also teaches body awareness. Invite students to compare how they feel now with how they felt at the start. That simple check-in turns exercise into practice.
Step 8: Finish With Savasana and a Closing
Do not skip savasana. It is the last stage of your sequence, and it matters as much as any pose. Students lie down, release effort, and let the practice settle. Yoga Alliance’s core curriculum expects registered schools to teach it, along with sukhasana, or easy seat.
Give students five to ten minutes in a 60-minute class. Many new teachers cut this short because silence feels uncomfortable. Resist that urge. Offer props, such as a bolster under the knees or a folded blanket over the body. Tell students they may stay in any comfortable position if lying flat does not suit them.
Cue relaxation slowly, from the feet up to the head. Then bring students back gently. Invite small movements, a roll to one side, and a slow rise to sitting.
Close with a short meditation or a few quiet breaths. The NCCIH describes mindfulness as paying attention to the present moment without judging it. That gives you a simple frame for a final minute of stillness. End with a clear, warm finish, such as a bow and a thank-you.
Silence is part of the practice.
 Step 9: Plan Your Cues and Transitions
Transitions make or break a sequence. Students spend as much time moving between poses as holding them. Plan those moments.
Look for smooth links. Moving from Warrior II to Reverse Warrior to Side Angle keeps the same stance, so the flow feels natural. Moving from Downward Dog to a forward fold asks students to walk their feet forward, which many beginners find hard. Spot tricky moments before you teach, and simplify them or break them into steps.
Then plan your cues. Yoga Alliance’s core curriculum names three kinds of cueing: verbal, visual, and physical. New teachers should focus on verbal and visual cues first. Keep cues short and put them in a logical order. Start with the base of the pose, such as the feet and legs. Then move to the hips and torso, and finish with the arms and head. Add a breath cue to each move. Use the same wording each time so students learn your language. Ask permission before any hands-on assist.
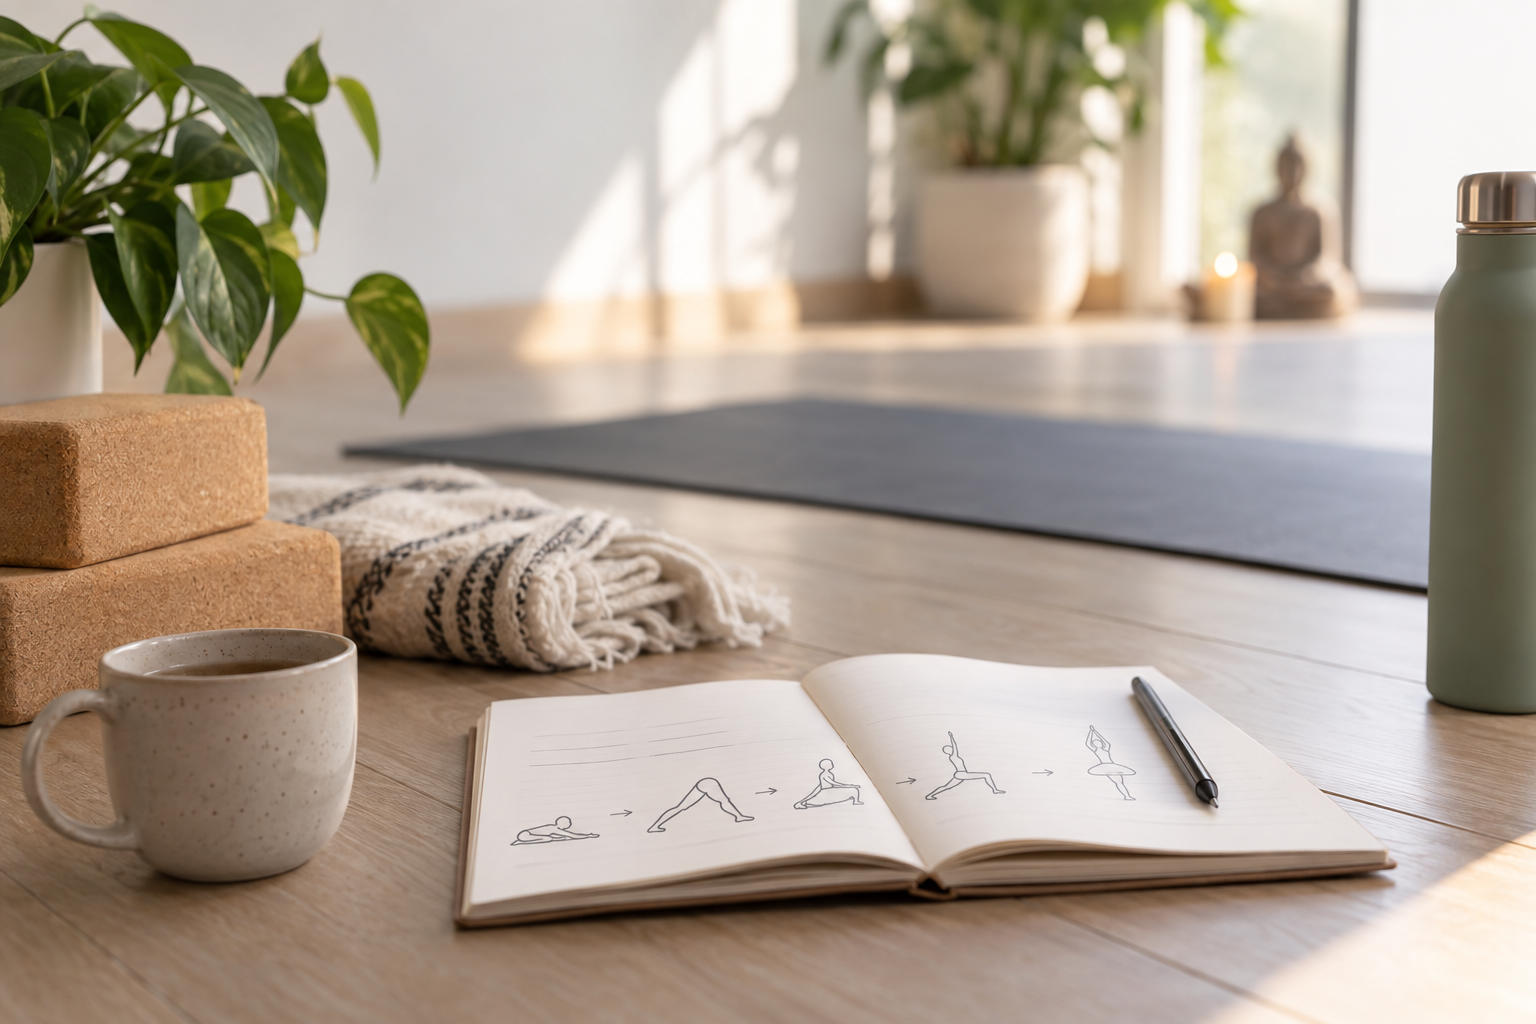
Write simple notes on your plan. Use short reminders, not full scripts. Number the poses, mark the starting side, and write the counterpose next to each strong pose. Add a time to each stage.
Also plan for surprises. A student may arrive late. Someone may need to sit out. Build in a few flexible poses so you can stretch or trim a stage without breaking the flow.
A Sample 60-Minute Sequence
Use this plan as a template. It suits an all-levels class with a theme of steady legs and open hips. Adapt it to your own students.
- Minutes 0–5, arrival: Sit comfortably and practice belly breathing. Set the intention “steady and soft.”
- Minutes 5–15, warm-up: Cat-cow, thread-the-needle, low lunge with hip circles, and Downward Dog.
- Minutes 15–23, sun salutations: Three slow rounds of Sun Salutation A, with a knees-down option in plank.
- Minutes 23–35, standing poses: Warrior I, Warrior II, Triangle, and Side Angle on both sides, with a reset in Downward Dog between sides.
- Minutes 35–45, peak: Lizard lunge to prepare, then Half Pigeon on each side. Offer reclined figure-four as the alternative.
- Minutes 45–52, cool-down: Seated forward fold, knees-to-chest, and a gentle supine twist on each side.
- Minutes 52–60, savasana and close: Six minutes of rest, then two minutes of quiet seated breathing and a closing bow.
Notice how the plan follows the arc. Each stage prepares the next. The standing poses open the hips before the peak. The cool-down releases the same area afterward. Every major pose also has a simpler option.
Common Sequencing Mistakes to Avoid
Every new teacher makes some of these mistakes. Knowing them ahead of time saves you stress.
- Choosing a peak pose that is too hard. A pose that takes years to build will frustrate a general class.
- Cramming in too many poses. A class with 40 different shapes feels rushed. Fewer poses, taught well, teach more.
- Skipping the warm-up. Stretching cold muscles raises the risk of strain.
- Forgetting the second side or the counterpose. Balance keeps the body even.
- Sequencing for your own body. Your flexibility and strength do not match your students’. Our article on whether you have to be flexible to become a yoga teacher explores why teaching skill matters more than how far you can bend.
- Offering no options. Give a simpler and a stronger version of major poses. Our guide to yoga teacher training with an injury looks at modifications and safety when injuries are involved.
- Rushing savasana. Cutting rest short leaves students unsettled.
- Talking too much. Long explanations break the flow. Say what students need, then let them move.
- Gripping the plan too tightly. If the room’s energy changes, adapt. A plan is a map, not a contract.
How to Practice and Improve Your Sequencing
Good sequencing grows from repetition and feedback. Build these habits:
- Practice your plan first. Move through it with a timer. You will feel awkward transitions right away.
- Teach friends or family. Ask specific questions. Where did you feel lost? Which pose came too soon?
- Record yourself. Listen for filler words and unclear cues.
- Keep a sequence journal. Note what worked, what failed, and how long each stage really took.
- Take classes with experienced teachers. Study how they build and time a class.
- Ask a mentor to watch you teach. A second set of eyes catches what you miss. Give yourself time, too. Most teachers need many classes before timing feels natural.
Structured training speeds up this process. Our article on whether yoga teacher training in Vancouver is worth it looks at what guided practice can offer. Once you feel ready to teach in public, plan the business side too. Yoga Alliance’s core curriculum includes liability insurance, waivers, and invoicing under professional essentials, and many studios ask for proof of coverage. Read our guides on yoga teacher liability insurance in BC and how to start teaching private yoga in Vancouver before your first paid class.
Conclusion: How to Sequence a Yoga Class With Confidence
The lesson of How to Sequence a Yoga Class: A Step-by-Step Guide for New Yoga Teachers comes down to one idea: build every class with a clear purpose and a logical order. Start with your students. Choose one theme or peak pose. Follow the arc from arrival to warm-up, building, peak, cool-down, and savasana. Plan your transitions and cues. Keep options ready for every body in the room.
You will not get it perfect on day one. No teacher does. Each class you plan and teach shows you what works. Keep a journal, ask for feedback, and adjust.
If you’re ready to become a yoga teacher, explore our 200-hour yoga teacher training in Vancouver. The program runs monthly. You attend one in-person weekend each month in Vancouver and complete guided online coursework in between. Sequencing, cueing, and repeated practice teaching sit at the center of the curriculum. Meet our lead trainers, read what students say in our testimonials, and find quick answers in the FAQ. If cost is a concern, see our guide to yoga teacher training scholarships and funding in Vancouver. As you compare programs, review Yoga Alliance’s published standards for registered yoga schools so you know what a well-rounded 200-hour curriculum covers. Then choose the training that prepares you to teach with clarity and care.